Painting projects aren’t always straightforward. Whether you are working in a large open space or tackling a tricky, odd-shaped room, keeping your floors, furniture, and fixtures protected is crucial. That’s where painters drop cloths
come in — but sometimes, a standard drop cloth just doesn’t cut it. Knowing how to properly customize a canvas drop cloth for unique spaces can save you time, money, and frustration.
In this guide, we’ll walk you through expert techniques to measure, cut, secure, and layer paint drop cloths so that you get full coverage and professional-level results — even on challenging projects.
Why Customizing Your Painters Drop Cloth Matters
Standard drop cloths work well in square or rectangular rooms, but they can be inefficient in oddly shaped areas like hallways, staircases, or rooms with built-in furniture. Customizing your paint drop cloth allows you to:
-
Ensure complete coverage with no gaps or exposed flooring.
-
Prevent tripping hazards caused by excess material bunching up.
-
Avoid paint splatter reaching baseboards or awkward corners.
-
Maximize the lifespan of your canvas drop cloth by cutting only where necessary.
When done right, customization turns a simple protective sheet into a tailored solution for your space.
Step 1: Measure Your Space Accurately
Before cutting or layering your drop cloth, measure the surface area you need to cover. Use a measuring tape and note the dimensions of:
-
Main floor space (length × width)
-
Corners and recesses
-
Built-in obstacles (like kitchen islands, stair railings, or fireplaces)
Pro Tip: Add 6–12 extra inches around each side. This overlap ensures that splatters don’t reach uncovered edges and gives you room to tape or secure the cloth.
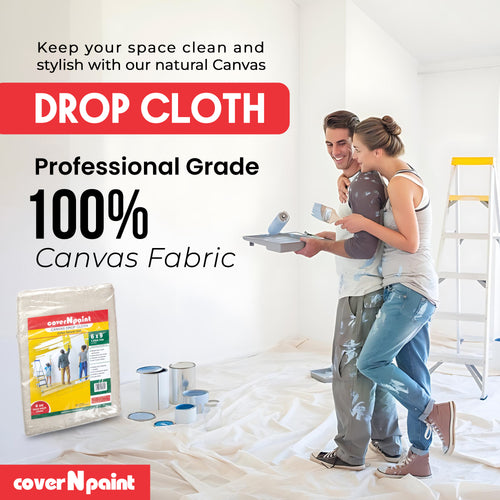
Step 2: Choose the Right Drop Cloth Material
Not all painters drop cloths are created equal. Selecting the right type of material for customization makes the job easier:
-
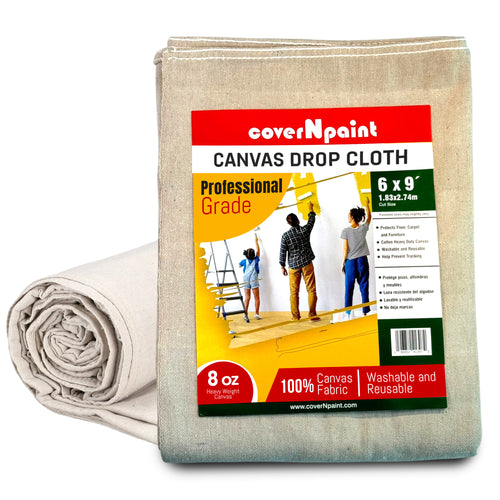
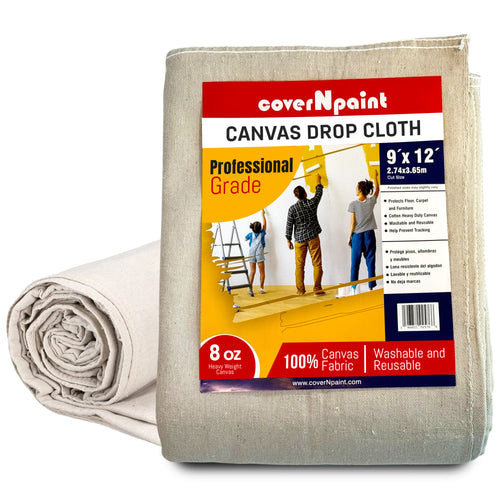
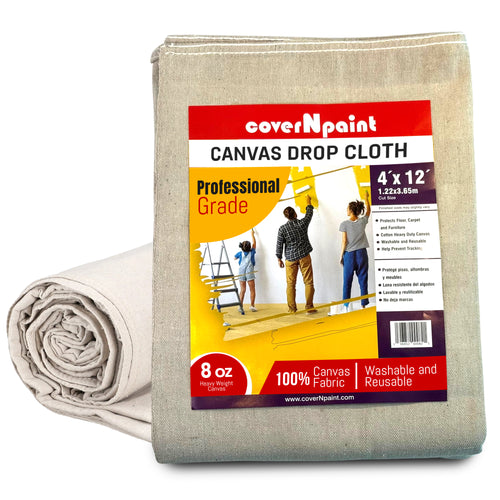
Canvas Drop Cloth – Durable, reusable, and great for professional projects. Ideal if you’ll be cutting and sewing pieces together.
-
Plastic Drop Cloth – Best for one-time use and areas with heavy splatter but difficult to reuse once cut.
-
Butyl-Backed Drop Cloth – Slip-resistant, perfect for stairs or tile floors where safety is a priority.
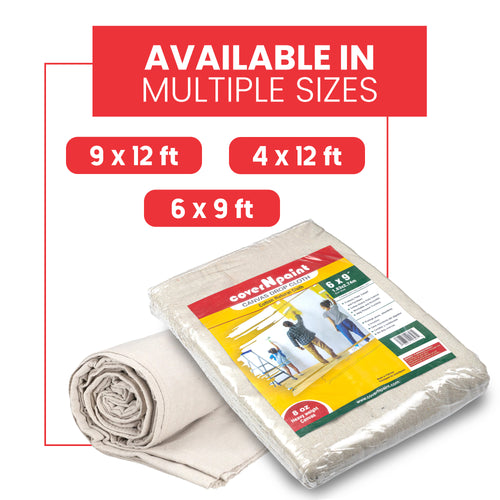
For long-term value, canvas drop cloths are recommended since they can be cut, washed, and reused many times.
Step 3: Cut and Hem Your Drop Cloth
Once you have measurements, mark your canvas drop cloth with tailor’s chalk or masking tape. Use sharp fabric scissors to cut along the lines.
To prevent fraying:
-
Fold the cut edges over about 1 inch and secure with fabric glue or a simple stitch.
-
If you don’t have sewing tools, use heavy-duty duct tape on the edges to reinforce them.
This small step dramatically extends the lifespan of your paint drop cloth and keeps it looking professional for future projects.
Step 4: Create Custom Shapes for Irregular Areas
For irregular spaces like staircases or L-shaped hallways:
-
Staircases: Cut long strips to cover individual steps, securing each strip with painter’s tape or a non-slip underlay.
-
Around Fixtures: Cut slits into your drop cloth so it can fit snugly around built-ins or large furniture.
-
Corners: Layer smaller cloth pieces in overlapping triangles to ensure paint can’t seep through gaps.
Step 5: Secure Your Drop Cloth Properly
Loose or bunched-up drop cloths can become trip hazards. Secure them in place with:
-
Painter’s tape along the edges
-
Furniture weights or small sandbags
-
Non-slip mats under the cloth if working on tile or hardwood
A properly secured paint drop cloth not only protects better but also keeps you safe while moving ladders or equipment.
Step 6: Layer for Maximum Protection
For messy jobs like ceiling painting or spraying, double up on protection:
-
Lay a canvas drop cloth as the base layer.
-
Place a thin plastic sheet on top to catch drips.
This layered approach protects against heavy paint spills and keeps the canvas layer clean for future reuse.
Step 7: Clean and Store After Each Use
Customized drop cloths can be used for years if maintained well. After each project:
-
Shake off dry paint and debris outdoors.
-
Spot clean wet paint immediately with mild soap and warm water.
-
Machine wash canvas drop cloths if heavily soiled, then air dry.
-
Fold neatly and store in a dry space to avoid mold or mildew.
For more tips on keeping your painting gear sustainable, check out our guide on Eco-Friendly Advantages of Using a Canvas Painters Drop Cloth in 2025.
A Curiosity-Building Note
Many painters overlook simple techniques that can dramatically extend the life of a canvas drop cloth. Even small adjustments in folding, cleaning, or layering can save significant money and make your painting experience far more efficient. At coverNpaint USA, we’re passionate about helping DIYers and professionals master these techniques so they can get the most out of every project.
FAQs
Q1: Can I reuse a painter's drop cloth after cutting it?
Yes! If you cut and hem the edges properly, your drop cloth can be reused for many projects.
Q2: What’s the best drop cloth for stairs?
A butyl-backed canvas drop cloth is ideal because it’s slip-resistant and stays in place.
Q3: How do I stop my drop cloth from sliding?
Use painter’s tape, weights, or non-slip mats underneath the cloth for secure coverage.
Q4: Can I wash a paint drop cloth with dried paint on it?
Yes, but scrape off as much dried paint as possible before machine washing to avoid clogging your washer.
Q5: Is it worth layering two drop cloths?
Absolutely. Layering gives you double protection, especially when working on expensive flooring or spraying paint overhead.